A quick walkthrough of how we hand-animate characters for Trooper using frame-by-frame animation in Photoshop CC 2015 — in this case, a non-playable character with a walk cycle and an idle animation.
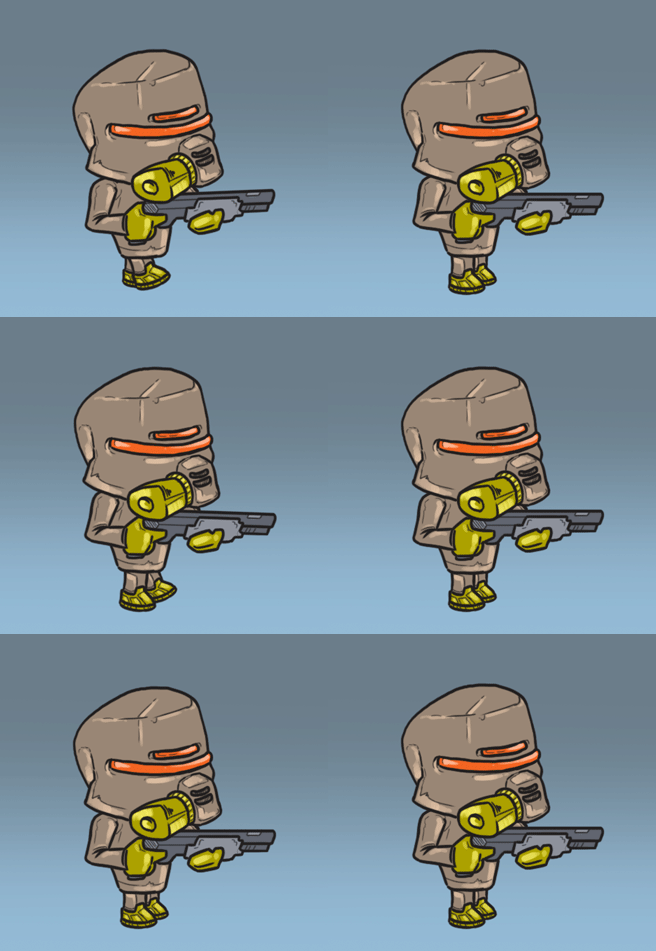
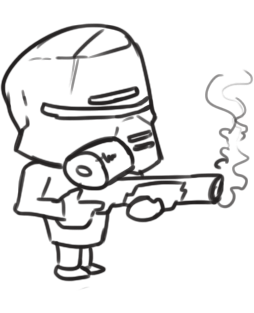
Drawing
Each body part goes on its own layer — head, body, front leg, back leg — with matching color layers underneath.
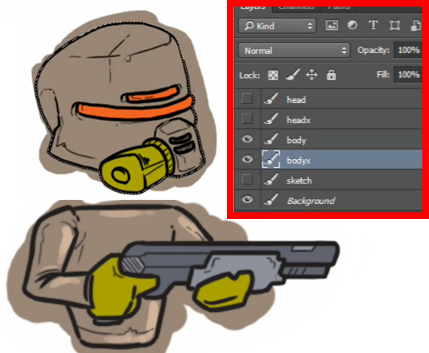
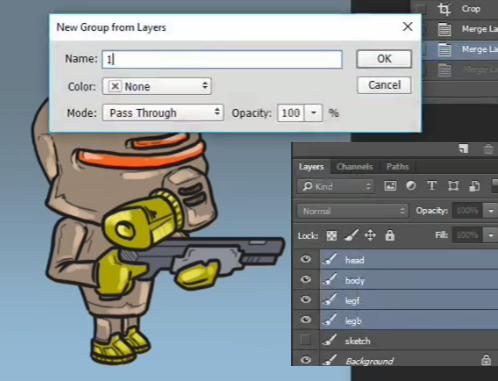
Once the character looks right, the layers get merged and grouped into the first frame. A time-saver: duplicate the front leg, shrink it slightly, and it works as the back leg too.
Animating
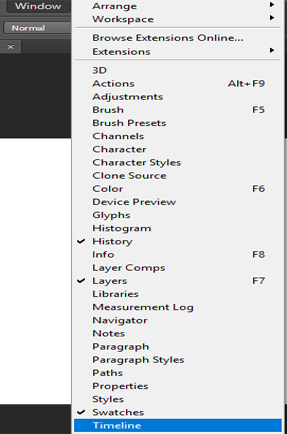
Photoshop's Timeline panel (Window > Timeline → Create Frame Animation) drives the sequence.

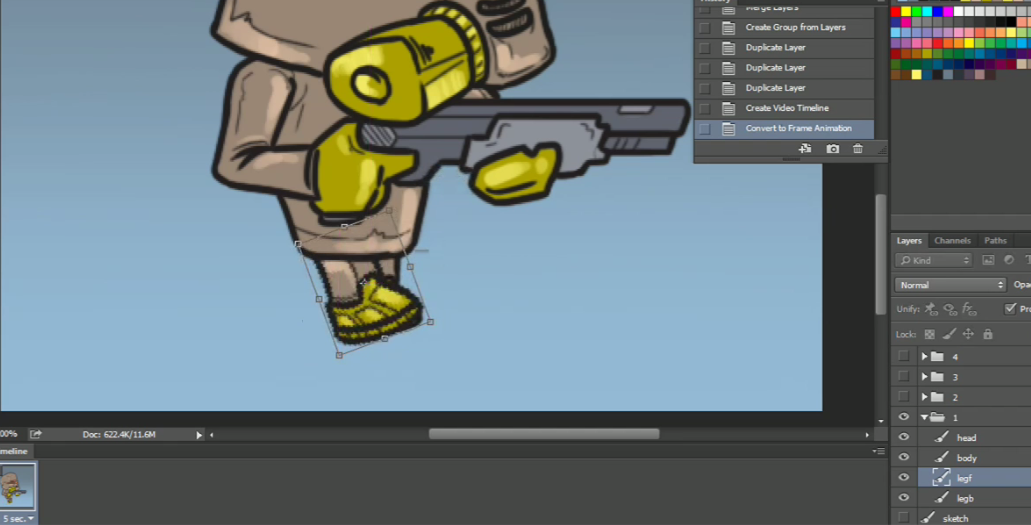
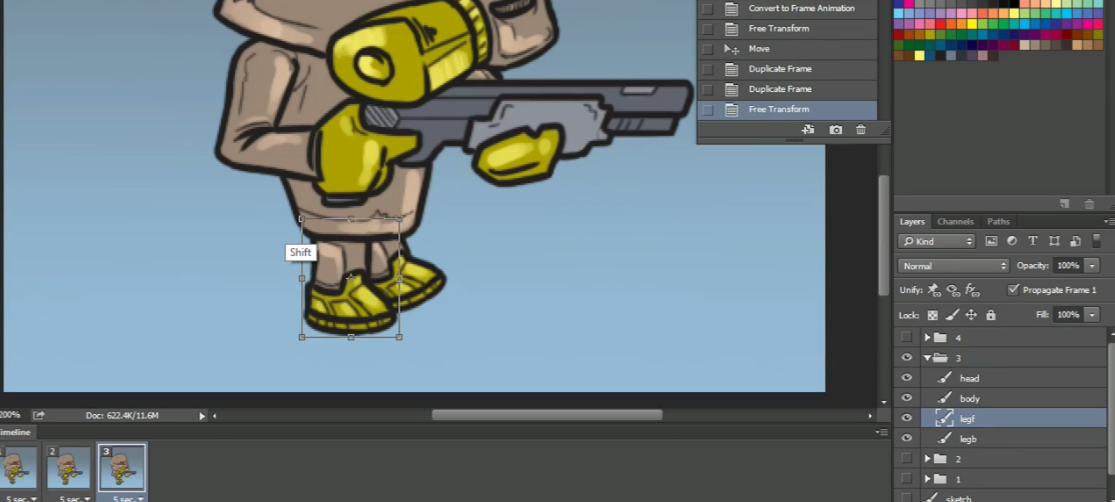
Each frame shows only the layer groups relevant to that pose, and movement comes from toggling visibility and nudging positions between frames. The walk cycle uses four frames with the legs stepping progressively, plus a little head/body tilt so it doesn't look robotic.
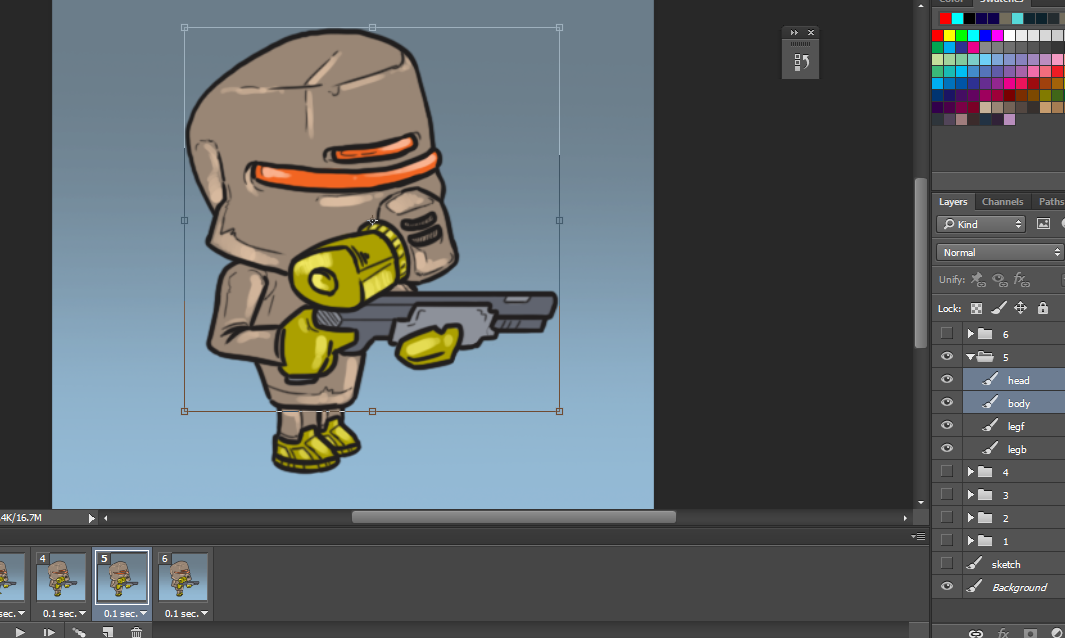
The idle animation is just a subtle up-down breathing motion on the head and body.
Exporting
For a GIF, File > Export > Save for Web (Legacy) does the job.
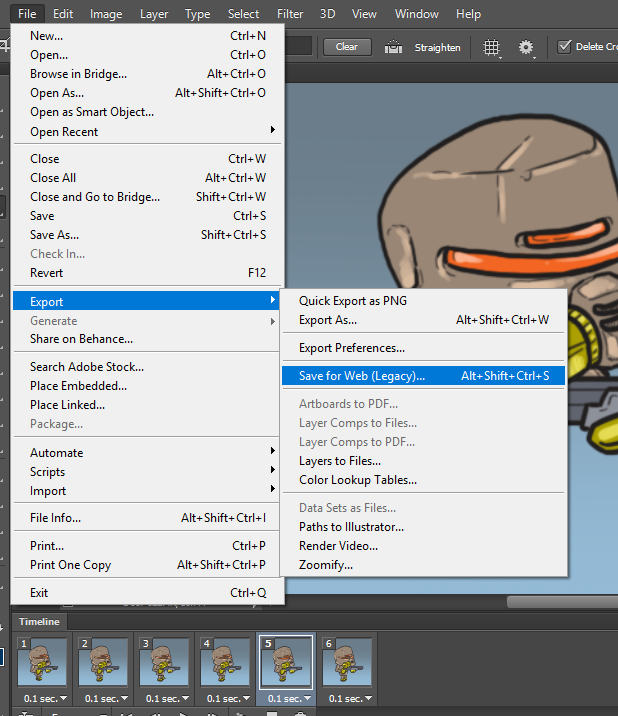
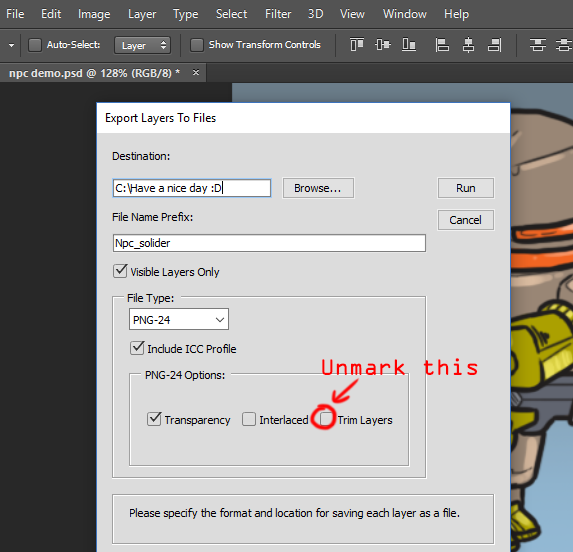
For a sprite sheet, File > Export > Layers to Files keeps every frame the same canvas size, and from there TexturePacker assembles the final sheet.
Here's the whole process in action: